Email Settings: How to configure the Iphone
For the most recent configuration settings to use for your device, reference your cPanel instructions for Device Configuration. On the cPanel device configuration page, there is a list of popular devices available, as well as a list of common settings to use in a typical email program.
The tutorial below may be helpful for older versions of iPhone Mail.
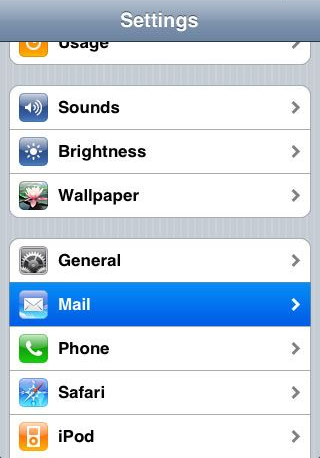
1) First, select “Settings”. From here, select “Mail, Contacts, Calendar” and choose “Add An Account”
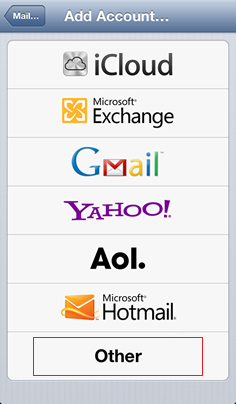
2) Next select “Other” under type of account and “Add Mail Account”
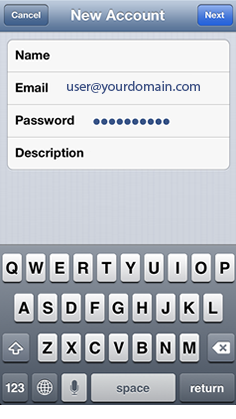
3) You will now fill in your Name, Email Address, and Password. Then touch the save icon, it will be in the upper right hand corner.
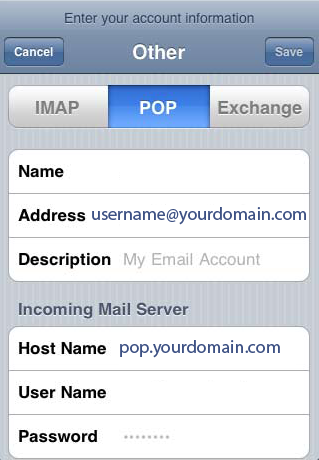
4) Next is filling out the incoming mail server.
Hostname: mail.yourdomain.com (or .net .org etc)
Username: your entire email address (such as: john@yourdomain.com)
Password: Your password
5) NOTE: Your Internet provider (ISP) should usually provide your outgoing / SMTP email services. Contact your Internet or phone network provider for the outgoing email server settings.
For customers using WEBii SMTP services:
Then is the outgoing mail server
Hostname: smtp.yourdomain.com
Username:your entire email address (such as: john@yourdomain.com)
Password: Your password

6) From here you should click advanced and make sure “SSL” is turned to OFF.
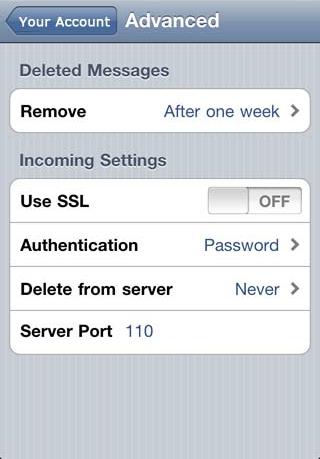
Once the settings are complete your iPhone will be able to connect/use the email server.